

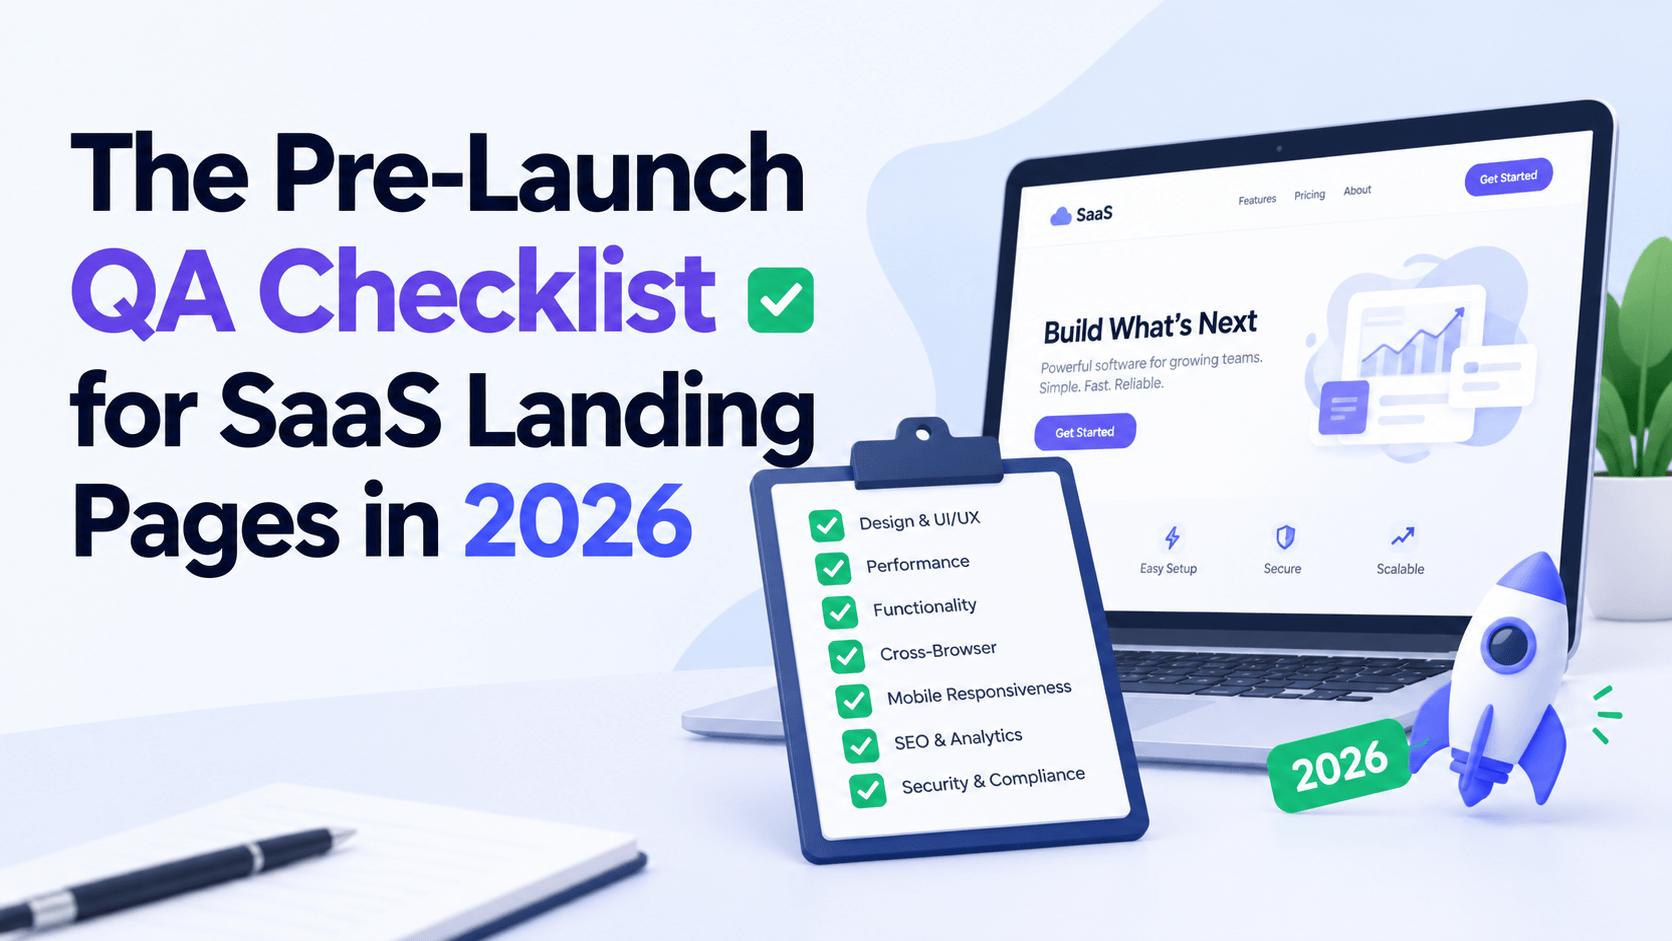
A pre-launch QA checklist for a SaaS landing page is the set of tests you run before any traffic arrives. It covers copy, forms, mobile display, speed, SEO, tracking, accessibility, privacy, security, and integrations. Run every check, fix what fails, and only then switch on your ads or emails.
Most launch problems are small: a form that posts to the wrong list, a price that changed last week, a cookie banner that hides the CTA on mobile. This guide gives you a 10-point checklist, an owner for each check, and a one-day schedule you can follow.
What Is a Pre-Launch QA Checklist for a SaaS Landing Page?
A pre-launch QA checklist for a SaaS landing page is a structured set of checks that confirms the page works, loads fast, tracks correctly, and follows legal rules before it goes live. QA stands for quality assurance. The goal is that every visitor sees accurate content, reaches a working sign-up or demo form, and is counted in your analytics.
QA is different from design review. Design review happens earlier, usually while the page is still a Figma file or a clickable prototype. Many teams now build these early versions with AI prototyping tools, which helps them agree on layout and flow before any code is written. QA comes later and checks whether the finished page works for every visitor, on every device, in every region you target.
What Usually Breaks on SaaS Landing Pages at Launch
The same few problems show up again and again. Pricing on the page doesn’t match pricing in the billing system. Trial forms send data nowhere because an API key was never switched from staging. Tracking scripts fire twice or not at all, and the first week of campaign data is wasted.
Mobile layout is the other repeat problem. A hero section that looks clean on a large monitor can push the main button below the fold on a phone. None of these issues is hard to fix. They are just easy to miss when the team is rushing toward a launch date.
The 10-Point SaaS Landing Page QA Checklist
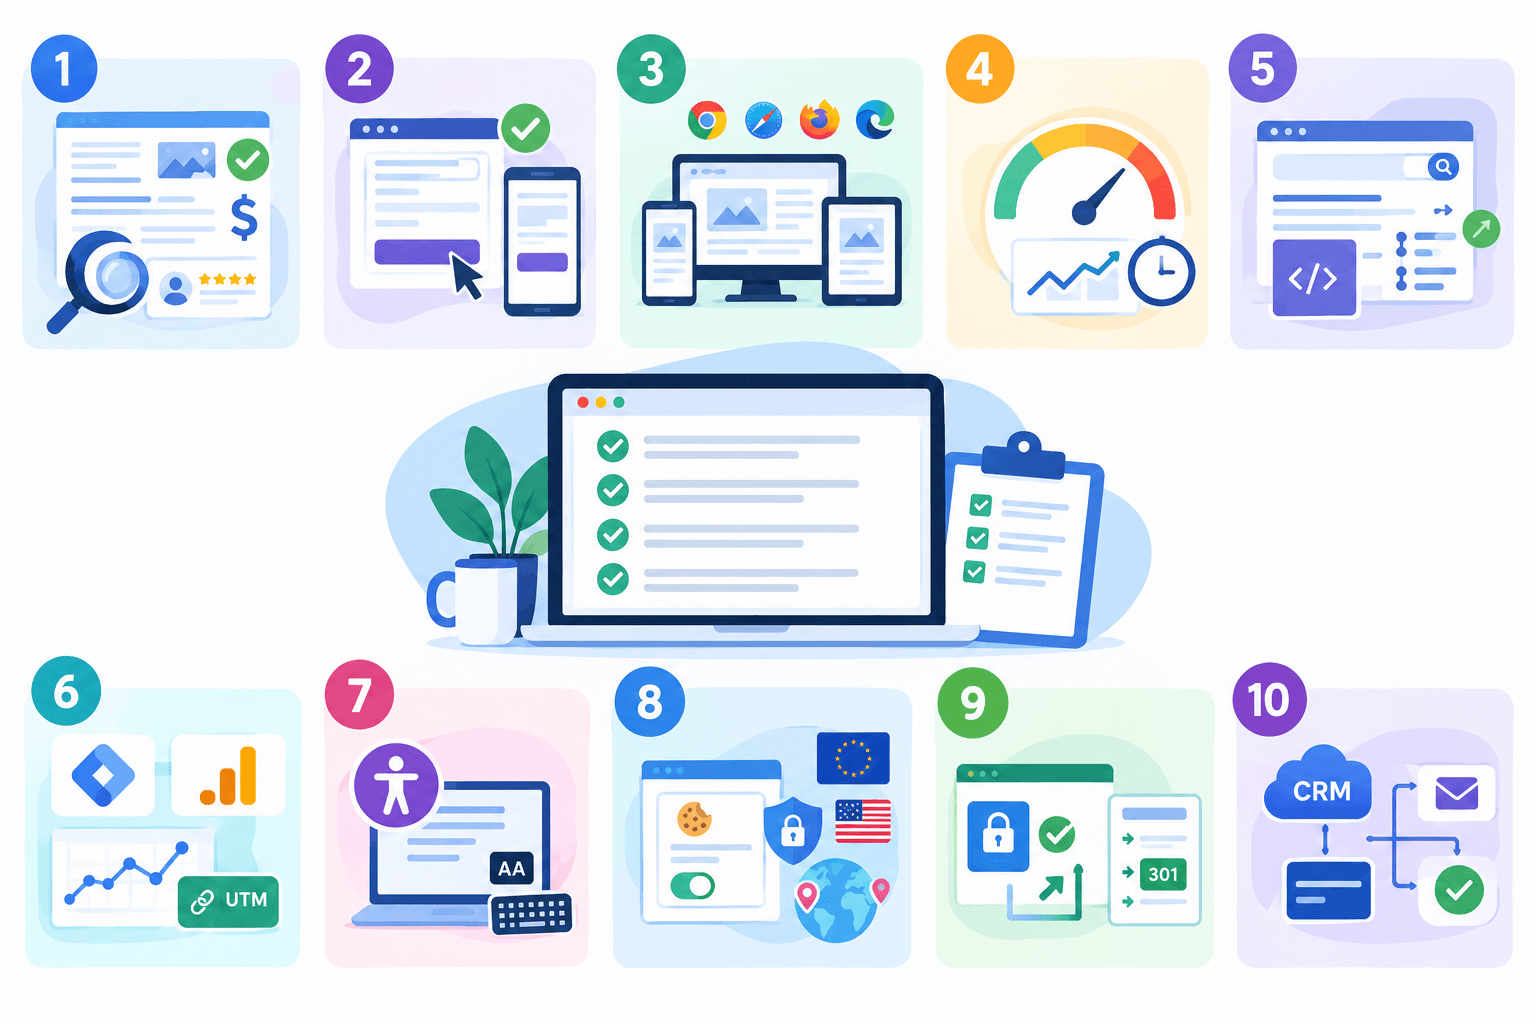
Work through these checks in order. The early ones catch content errors, and the later ones catch technical and legal gaps.
1. Copy, Pricing, and Offer Accuracy
Read every line out loud. Check product names, plan names, trial length, and discount terms against what sales and billing actually offer. Confirm you have permission to use each testimonial and that customer logos are current.
If you show prices in local currencies, check them from each country you sell to. Oxylabs is a well-known proxy provider that offers residential, datacenter, and mobile IPs, along with web scraping tools for large-scale data collection. QA teams use proxy services like this to view a page exactly as a visitor in another country would. For simple geo-pricing checks, many teams look at Oxylabs alternatives that offer reliable residential IPs, easy country targeting, and pricing suited to smaller testing needs.
2. CTAs, Forms, and the Sign-Up Flow
Click every button. Each CTA should go to the right place, and the main action, such as starting a trial or booking a demo, should be visible without scrolling on both desktop and mobile.
Submit every form with test data. Check field validation, error messages, the thank-you state, and the confirmation email. Then try to break the form with empty fields, a fake email, or a double click on submit. A form that accepts junk will fill your CRM with junk.
3. Mobile and Cross-Browser Display
Test on real phones, not just a resized browser window. Cover Chrome, Safari, Firefox, and Edge, plus iOS Safari, which handles fixed elements and viewport height differently from desktop browsers. A tool like BrowserStack covers devices you don’t own.
Look for overlapping text, cut-off images, small tap targets, and sticky headers that hide content. Pricing tables need extra attention, because wide tables often break on narrow screens.
4. Page Speed and Core Web Vitals
Core Web Vitals are Google’s metrics for real-world page experience. According to Google’s web.dev guidance, a page passes when Largest Contentful Paint (LCP) is 2.5 seconds or less, Interaction to Next Paint (INP) is 200 milliseconds or less, and Cumulative Layout Shift (CLS) is 0.1 or less, measured at the 75th percentile of visits.
Run the page through PageSpeed Insights and Lighthouse. The usual fixes are compressed images, fewer third-party scripts, and fonts that don’t block rendering.
5. On-Page SEO, Schema, and AI Search Readiness
Confirm the page has one H1, a unique title tag, a meta description, a canonical URL, and Open Graph tags for social sharing. Make sure any staging “noindex” tag has been removed.
Add structured data where it fits, such as SoftwareApplication schema, and validate it with Google’s Rich Results Test. For AI search tools, put a plain-language summary of what the product does and who it serves near the top of the page. Short, factual statements are easier for answer engines to quote.
6. Analytics, Event Tracking, and UTM Setup
Open Google Tag Manager in preview mode and trigger each key event: page view, CTA click, form submit, and completed sign-up. Check that each event lands exactly once in Google Analytics 4 or your product analytics tool.
Test the UTM-tagged URL for every planned campaign. Then confirm the UTM values survive the form and reach your CRM. Otherwise you won’t know which channel drove each sign-up.
7. Accessibility Checks (WCAG 2.2)
WCAG 2.2, published by the W3C in October 2023, is the accessibility standard most teams test against. At the AA level, normal body text needs a contrast ratio of at least 4.5:1, and every function must work with a keyboard alone.
Tab through the whole page. Check alt text on meaningful images, labels on every form field, visible focus states, and captions on product demo videos. Automated tools like WAVE and axe catch a lot of issues, and a manual keyboard pass catches the rest.
8. Privacy, Cookie Consent, and Legal Pages
If you have visitors in the EU, the GDPR and related ePrivacy rules require consent before non-essential cookies load. California visitors may bring CCPA requirements, depending on your business size. Check that the banner appears, that tracking stays off until consent is given, and that the banner doesn’t cover the main CTA on mobile.
The hard part is seeing what each region sees. A residential proxy service such as FleetProxy.io lets you load the page as a visitor from Germany, France, or California, so you can confirm the right banner and wording appear. Finish by checking the footer links to your privacy policy, terms, and cookie policy.
9. Security, SSL, and Redirects
Load the page over HTTPS and check the browser console for mixed-content warnings. Free hosts make SSL easy, as covered in this guide on how to host a static website for free, but still confirm the certificate is valid and isn’t close to expiring.
Next, test redirects. Old campaign URLs and the non-www version of the domain should reach the live page through a single 301 redirect, not a chain. Add basic spam protection to forms, such as reCAPTCHA or a honeypot field.
10. CRM, Email, and Billing Integrations
Follow one test lead all the way through. It should appear in HubSpot, Salesforce, or your CRM with the right owner and source. The welcome email should arrive, display correctly, and link to the right page.If the page starts a paid trial, run a test card through Stripe or your billing tool in test mode. Then cancel the subscription to confirm the cancellation flow works too.
Who Should Own Each QA Check?
| Check | Owner | Helpful Tool |
|---|---|---|
| Copy and pricing | Product marketer | Pricing sheet, sales sign-off |
| CTAs and forms | Marketing ops | Test inbox |
| Mobile and browsers | Front-end developer | BrowserStack |
| Speed | Front-end developer | PageSpeed Insights |
| SEO and schema | SEO lead | Rich Results Test |
| Tracking and UTMs | Analyst or marketing ops | Google Tag Manager preview |
| Accessibility | Designer and developer | WAVE, axe |
| Privacy and legal | Compliance owner | Consent manager logs |
| Security and redirects | DevOps | Browser console, SSL checker |
| Integrations | RevOps | CRM sandbox, Stripe test mode |
Many people can run checks, but one person should own the final sign-off.
Pre-Launch QA vs. Post-Launch Testing
| Aspect | Pre-Launch QA | Post-Launch Testing |
|---|---|---|
| Goal | Find and fix errors | Improve conversion rate |
| Timing | Before traffic arrives | After real traffic arrives |
| Methods | Manual checks, test data | A/B tests, heatmaps, session recordings |
| Result | Pass or fail | Gradual gains |
Don’t start A/B tests until QA passes. A test run on a broken page only tells you which broken version performs better.
Common Landing Page QA Mistakes to Avoid
- Testing only on desktop, even though many SaaS visitors first arrive from a phone.
- Leaving staging settings live, such as noindex tags, test API keys, or password protection.
- Checking that forms submit without checking what happens after submission.
- Skipping a final review after last-minute copy edits.
- Having no single owner, so every issue gets flagged and none gets fixed.
How to Run Landing Page QA in One Day

- 9:00 to 11:00: Copy, pricing, CTAs, and forms.
- 11:00 to 1:00: Mobile, browsers, and accessibility.
- 2:00 to 4:00: Speed, SEO, schema, tracking, and UTMs.
- 4:00 to 5:30: Privacy, security, integrations, and one full test lead.
- End of day: Share the fix list, retest the failures, and get sign-off.
Conclusion
Each campaign gets one first impression with every visitor. If the form fails, the price is wrong, or the page loads slowly on a phone, that visitor rarely comes back. A short, repeatable QA process protects your ad spend, keeps your analytics data clean, and builds trust in your brand from the first click.
You don’t need a big team or expensive tools to get this right. Run the 10 checks in order, assign an owner to each one, and retest every fix before you sign off. Save this checklist as a template for your next launch, and add any new issues your team finds along the way. Over time, your QA process becomes faster and your launches become far less stressful.